- By Profab /
- April 13, 2026

Table of Contents
Browse any marine hardware catalog and you’ll see boat cleats listed by length: 6 inch, 8 inch, 10 inch, without much explanation of why. Most boaters match whatever was on the boat before, or pick something that looks right. For protected-water docking in calm conditions, that usually works. Then comes one storm, one surge load on the mooring line, and a marine cleat that was half a size too small pulls clean out of the deck.
Boat cleat sizing is not guesswork. There are two formulas, a short list of real-world adjustments, and one installation variable that determines whether a correctly-sized boat cleat actually holds. Here is how to work through all of them.
Why the Wrong Size Boat Cleat Creates Real Risk

An undersized boat cleat creates two problems at once: the horn geometry cannot hold a figure-eight line wrap properly, and the base footprint puts load on fewer bolt holes. Both failures tend to occur together, under exactly the conditions when you need the cleat to hold.
The BoatUS Foundation, working with the University of Virginia School of Engineering, ran controlled tensile tests on boat cleat assemblies and measured failure loads ranging from 1,190 to 7,500 pounds, depending on material and design. That lower number, 1,190 pounds, is roughly what a 40-foot boat applies to its working anchor line under normal docking conditions. An undersized boat cleat on a vessel of that size can fail before you even see bad weather.
The same study found that 57% of all boat cleat failures originated at the fasteners, not the cleat body. Worth sitting with that: more than half of cleat pull-outs had nothing to do with the cleat size or material. The bolts failed first. Most articles about boat cleat sizing skip this entirely, which is why poorly mounted hardware keeps showing up in damage surveys year after year.
The Two Core Sizing Formulas
Formula 1: The Line Diameter Rule
The most widely applied rule in marine hardware: the marine cleat overall length should equal approximately 1 inch for every 1/16 inch of dock line diameter. Overall length means tip-to-tip measurement across the cleat, not the length of a single horn.
Worked out practically:
- 3/8-inch line (6/16″) → 6-inch cleat
- 1/2-inch line (8/16″) → 8-inch cleat
- 5/8-inch line (10/16″) → 10-inch cleat
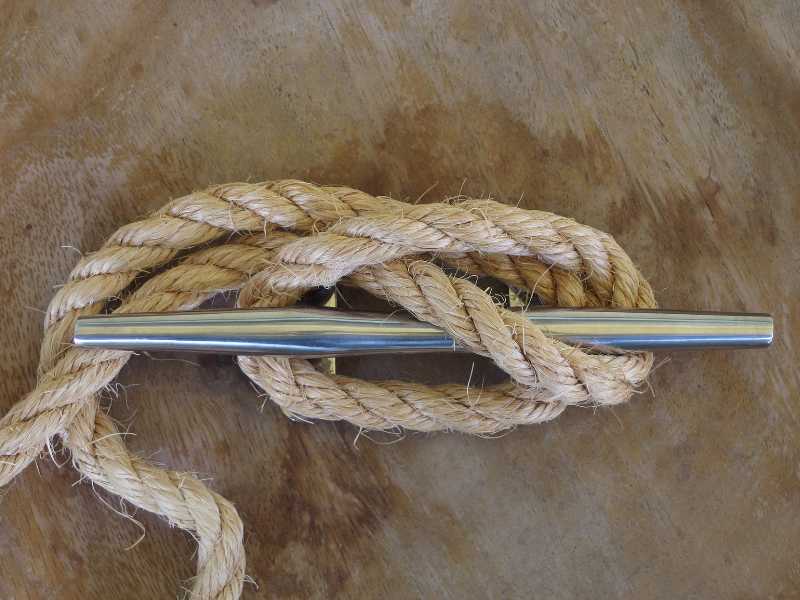
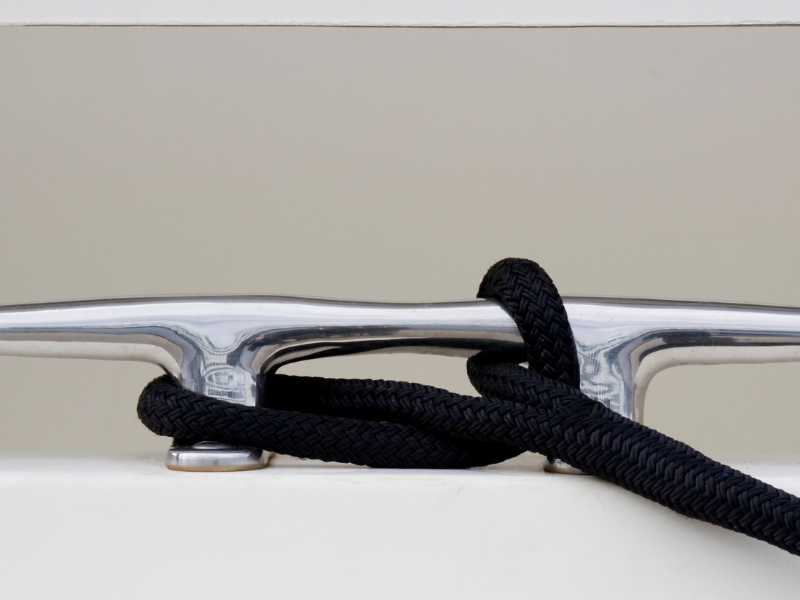
The geometry behind this is functional. A cleat horn needs enough length to accept two full wraps of line in a figure-eight pattern without the wraps stacking on top of each other. Short horn, thick line: wraps pile up and slip under load. Long horn, thin line: wraps have too much play and loosen under cyclic tension from wave action.
If you are replacing boat cleats rather than speccing a new installation, measure your actual mooring line first. Do not assume the existing hardware matches what is on board.
Formula 2: The Boat Length Rule
The second formula works back from vessel size:
| Boat Length | Recommended Cleat Size |
|---|---|
| Under 20 ft | 4–6 inch |
| 20–30 ft | 8 inch |
| 30–40 ft | 10 inch |
| Over 40 ft | 12 inch or larger |
This table tracks the standard relationship between boat length and dock line diameter: roughly 1/8 inch of line per 9 feet of boat. A 36-foot boat needs 1/2-inch line (36 ÷ 9 = 4; 4 × 1/8″ = 1/2″), which maps to an 8-inch boat cleat. Both formulas land in the same place.
Use them together. If both produce the same answer, you have confidence. If they diverge, take the larger result.
What the Formulas Don't Account For
Both rules give you a starting point. Several real-world factors push that number up.
Exposure to Wind, Current, and Waves
A cleat sized for calm-water marina docking is often undersized for an exposed tidal dock or coastal anchorage. Wind load is not linear with boat length. Beam width, freeboard, and superstructure windage all add up, and a broad-beamed cruiser can generate significantly more load than the boat-length chart assumes.
Standard practice for exposed locations: add one size step to the formula result. A 25-foot boat calls for 8-inch cleats by the chart; in a location with consistent wind or tidal current, 10-inch cleats are the more defensible specification.
Vessel Displacement
The boat-length formula assumes typical displacement for a given waterline length. A heavy-displacement cruiser at 30 feet carries substantially more inertial load than a light-hull express at the same length. Experienced riggers treat heavy-displacement vessels as one category larger when selecting cleats.
Boat Cleat Count and System Integrity
Cleats operate as a system, not in isolation. A properly rigged boat at dock distributes mooring load across bow, stern, and spring lines, typically four to six attachment points. One undersized cleat in that chain becomes the weak link. Mixing cleat sizes across positions is common but adds unpredictability; when all cleats are matched to the same specification, the system behaves consistently under surge load.
Why Material Grade Affects Your Sizing Decision
Sizing a boat cleat without specifying material is an incomplete spec. The BoatUS tensile test data puts hard numbers to the performance gap:
- Stainless steel: average failure load of 6,893 lbs
- Marinium (magnesium-aluminum alloy): 6,503 lbs
- Bronze and aluminum: approximately 3,900 lbs
- Nylon: 2,035 lbs
For saltwater and coastal docking, 316 boat cleats are the standard specification. The corrosion resistance of 316 in chloride environments holds up substantially better than 304, and the mechanical properties mean the cleat body is not the limiting factor in the assembly.
The material choice also has a direct bearing on sizing margin. A stainless cleat at the calculated minimum size carries a load rating well above anything normal docking conditions produce. An aluminum or zinc cleat at the same nominal size offers roughly half that margin. When a specification is already at the edge, or the exposure is significant, stainless is not a luxury call.
Installation: The Factor That Determines Whether Sizing Matters
A correctly sized boat cleat installed badly will fail before an undersized cleat installed correctly. That is not a hypothetical. It is what the failure data shows.
The Backing Plate Requirement
The most common installation mistake is mounting a cleat directly to fiberglass deck without a backing plate. Under load, the fastener heads pull through the laminate. The cleat does not fail. The deck does.
A backing plate spreads the pull-out load across a much larger surface area of substrate. Standard guidance: the plate should be at least twice the cleat length and half the cleat length wide. For a 10-inch cleat, that means a minimum backing plate of 20 × 5 inches. Material options include stainless steel plate, aluminum plate, or G10 fiberglass board. Marine plywood works in protected, dry locations, but moisture infiltration over time reduces its load capacity in the bolt zone.
Where the deck uses balsa core construction, the core needs to be removed and replaced with solid fiberglass or epoxy fill in the bolt area before installation. Balsa-core substrate alone is not adequate for mooring cleat loads.
Fastener Specification
Self-tapping screws are not appropriate for primary mooring cleats. The correct fastener is a through-bolt with a stainless steel Nylock nut and stainless washers under the nuts. Fastener diameter should follow the boat cleat manufacturer’s recommendation for the specific model.
Thread standard matters for international procurement. Stainless hardware ships in both UNC and metric thread, and a mismatched fastener and nut combination is a failure waiting to happen. Confirm thread pitch and standard when sourcing hardware from international suppliers.
According to BoatUS Foundation testing, fastener failure accounted for more than half of all boat cleat pull-outs in controlled testing. Selecting the right cleat size and then under-specifying the bolt diameter removes most of the safety margin that the correct cleat was supposed to provide.
A Practical Checklist for Getting It Right
Five decisions, in order:
Step 1: Measure your dock line diameter. Use the actual line you moor with, not the line that came with the boat if it has been replaced.
Step 2: Apply the line diameter formula. 1 inch of cleat overall length per 1/16-inch of line diameter. Cross-check against the boat-length chart.
Step 3: Apply the environmental and displacement modifiers. Add one size step for exposed docking locations, tidal current, or heavy-displacement vessels.
Step 4: Specify material grade. For saltwater and coastal environments, 316 stainless is the standard. Request material certification from the supplier.
Step 5: Plan the installation before ordering. Calculate backing plate dimensions and confirm fastener diameter and thread standard. A correctly sized cleat without a proper backing plate is a liability.
When deck space allows, going one size above the minimum is a reasonable call. The load margin is worth more than the cost difference, and it avoids the situation of re-drilling and re-mounting after the first storm that tests the installation.
Profab Machine manufactures stainless steel marine hardware, including boat cleats in 316 and 304 stainless, with full material certifications available. For procurement teams and distributors specifying hardware for marine applications, custom sizing and OEM volumes are supported.
Send Inquiry Now
Related Resource
How to Stop Your Boat Cleats from Squeaking
How to Size Your Boat Cleats Correctly
Backing Plates Decide Whether Your Boat Cleat Actually Holds